Next, see the step-by-step to integrate the Olist Business Management System with Zenvia Customer Cloud.
The process is simple: just start by generating the API Token in Olist and proceed with the configuration in Zenvia Customer Cloud.
💡 Tip: To learn more about this integration, see the article Overview of Olist .
Generate the API Token in Olist
To begin the integration, you need to obtain the API Token from Olist. Follow the steps below:
1. Access the Olist website and log in to your account.
2. In the upper right corner, click on the User icon > Settings > API Token.
3. If no token is created, click on Generate API Token and Confirm.
⚠️ Attention: If a token already exists, just copy the displayed value. Generating a new token will invalidate the previous one, which may interrupt other active integrations using the old token.
4. Once the token is generated, copy it to use in Zenvia Customer Cloud.
💡 Tip: If you are on Olist's "Starter" plan, it does not allow API Token creation. In this case, you’ll need to upgrade to another plan. For more details, check Olist's plan comparison or contact your Olist account CS.
Insert the API Token into Zenvia Customer Cloud
Now that you have the API Token, follow the steps below to complete the integration:
1. Access Zenvia Customer Cloud.
2. In the side menu, go to Integrations.
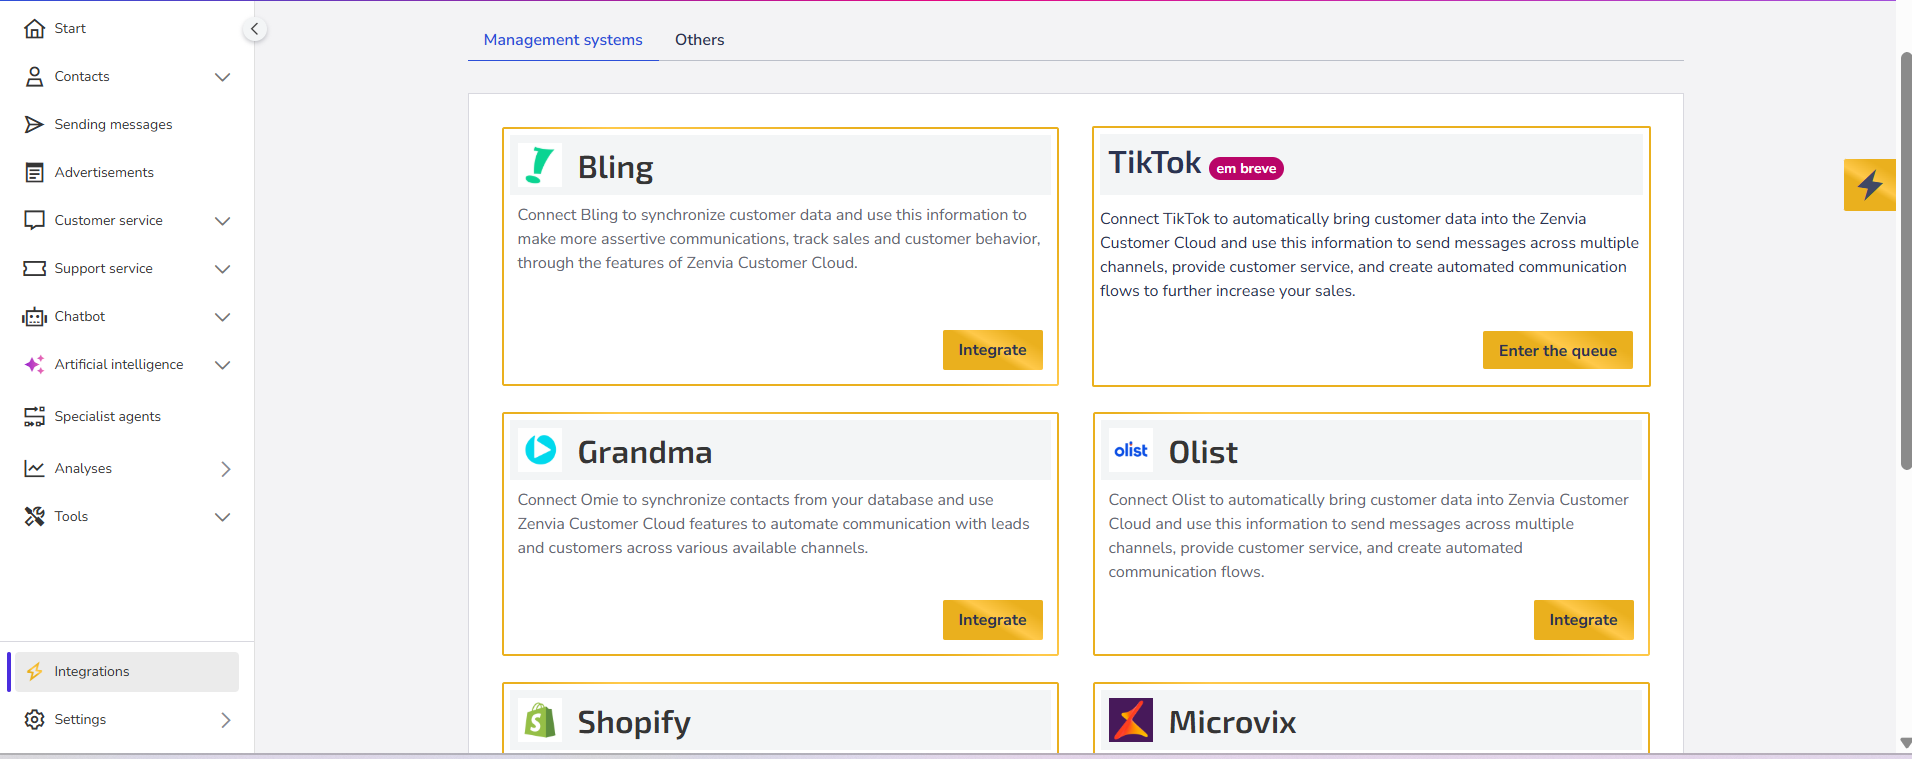
3. Find the Olist option and click Integrate.
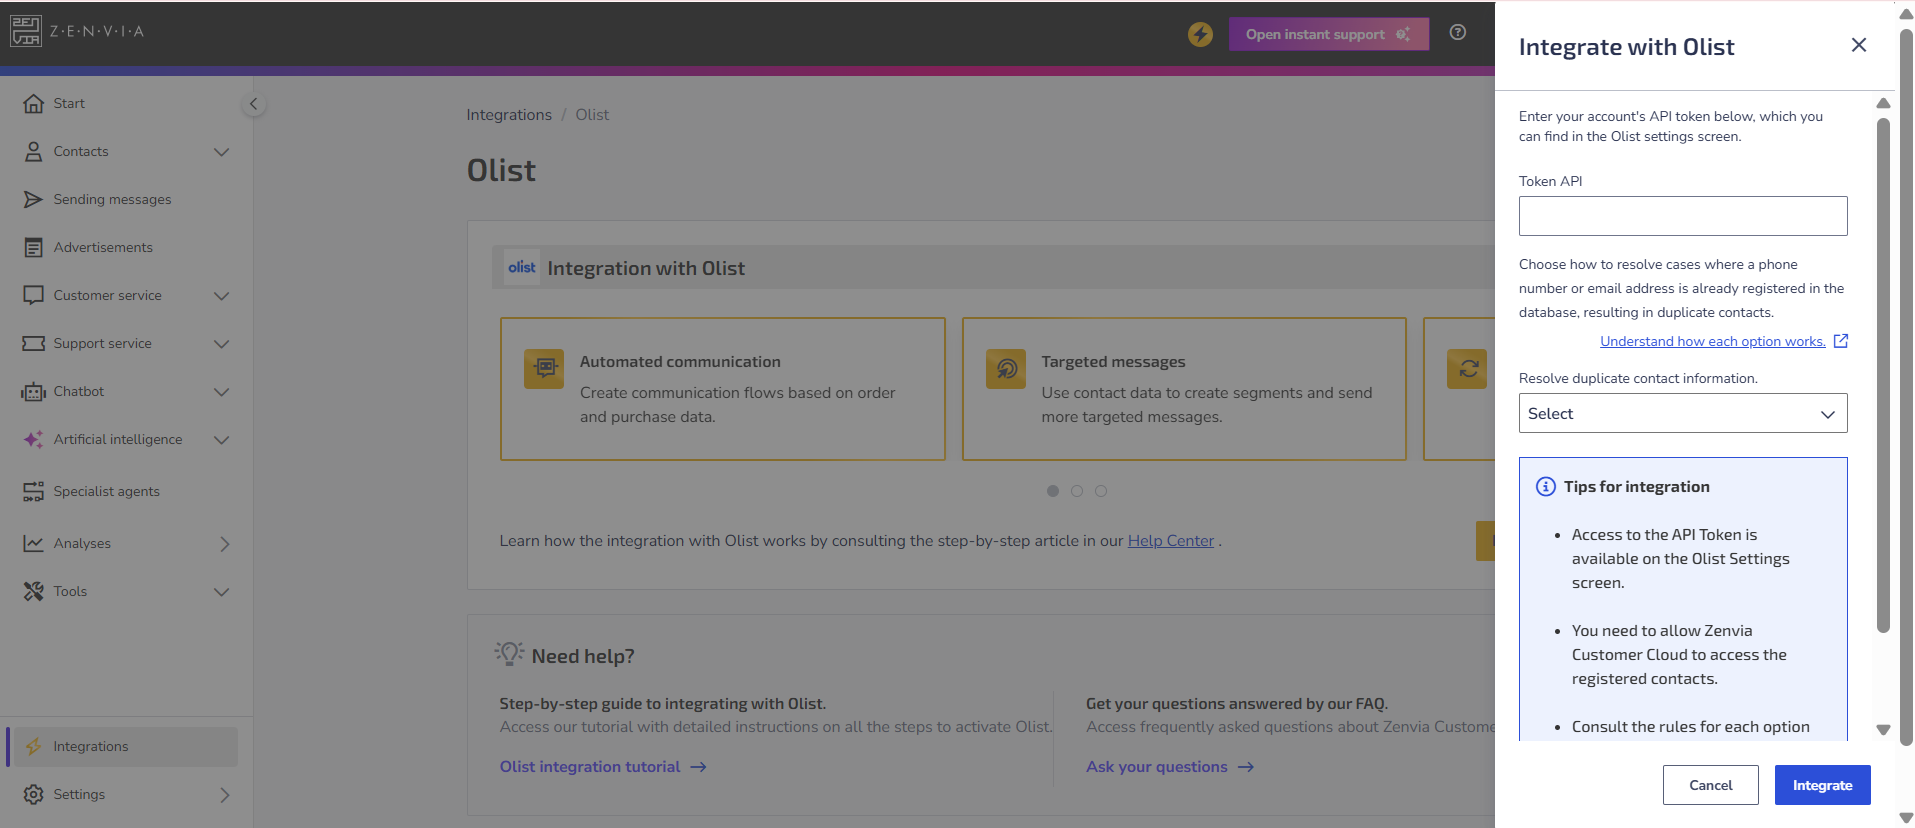
4. Click the Integrate with Olist button.
5. Paste the API Token generated in Olist.
6. Choose how the data should be updated when there is a conflict between your system information and the contacts already existing in Zenvia Customer Cloud. The available options are:
- Merge: Combines the data from both contacts, keeping the best of each.
- Overwrite: Replaces all information from the current contact with the data received from the system.
- Discard: Keeps the current contact and ignores the one coming from the system.
A contact will be considered a duplicate if the mobile phone, landline, or email matches any contact already existing in the database.
💡 Tip: See in practice how to resolve contact duplicates in system integrations.
7. Click Integrate to complete validation.
Done, integration completed!
Next Steps
Learn how to analyze and apply data to optimize your sales and operations in How to Use Your Management System Data in Zenvia Customer Cloud.
Learn more!
Deepen your knowledge with complementary materials:
- Understand the platform’s features and benefits in the article Olist Overview.
- See practical examples of applying Olist data in Olist Use Cases.