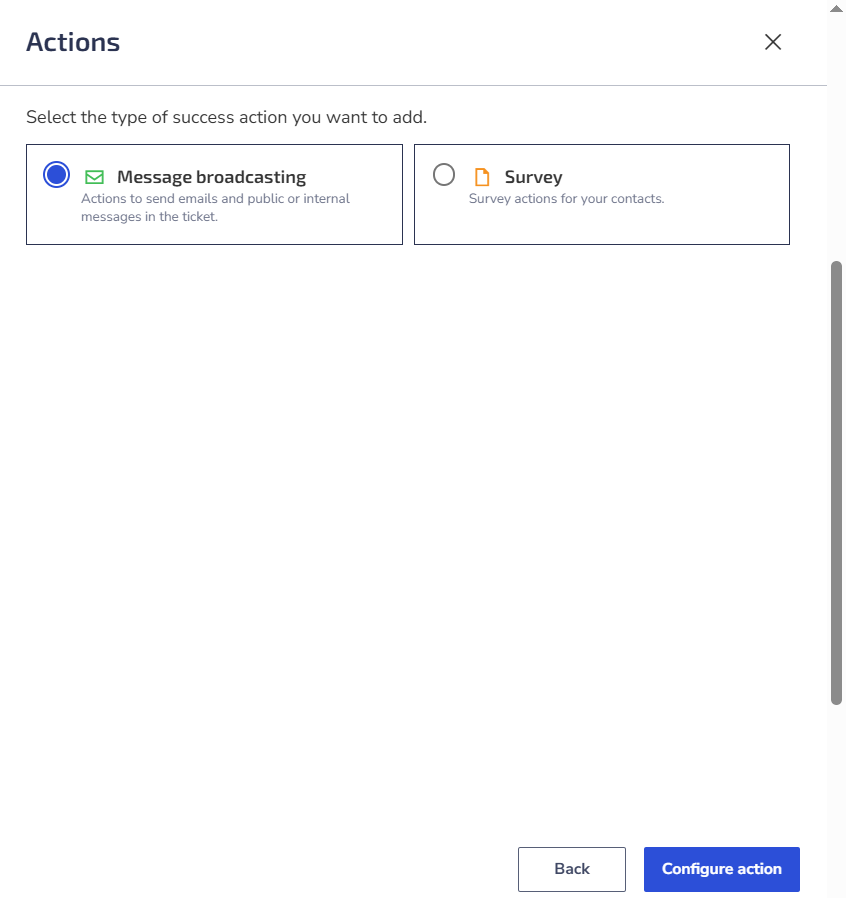
This is the fourth and final step in creating the expert agent. Here, you can select the success action: Message Sending or Surveys.
To access this feature, go to Zenvia Customer Cloud > Expert agent > Create new expert agent > Actions - Add action.
Actions
Select the desired success action type. You have two options:
- Message Sending: actions for sending messages to contacts via WhatsApp, SMS, or Email.
- Surveys: actions for sending surveys to your contacts.
⚠️ Attention: The available and displayed channels will depend on your subscription and integration.
Message Broadcasting
When selecting the message sending option, choose the desired channel - Email, WhatsApp, SMS, or RCS - and then click Configure Action.
Channel: Provide WhatsApp.
Sender: Select the phone number.
Template: Choose a template or Create a template.
Variable Selection: After selecting the template, if it has variables, all variables contained in the template will be displayed.
Add Custom Field: If variables are present, the option to fill in custom fields is displayed.
Message Preview: Displays a preview of the message according to the selected template.
Message sent at: Specify a sending time.
Destination of Contact Responses*: If Commercial Support is activated, replies can be assigned to the team or support agent. (*This field will only appear for the WhatsApp channel when selecting the number and if it is linked to commercial support).
SMS
Channel: Provide the SMS number.
SMS Message: Select an SMS template or define the message text.
Template: Choose an existing SMS template or Create a template.
Variable Selection: After selecting the template, if it has variables, all variables contained in the template will be displayed.
Add Custom Field: If variables are present, the option to fill in custom fields is displayed. These fields are prepared to receive variable information that will be automatically applied when sending the message.
Message Preview: Displays a preview of the message according to the selected template.
Message sent at: Specify a sending time.
Channel: Provide the email address.
Sender: Select the sender's email.
Email Message: Select a ready-made email template or write a simple email (create a message with basic formatting).
Template: Select an existing template or Create a template.
Variable Selection: After selecting the template, if it has variables, all variables contained in the template will be displayed.
Add Custom Field: If variables are present, the option to fill in custom fields is displayed. These fields are prepared to receive variable information that will be automatically applied when sending the message.
Message Preview: Displays a preview of the message according to the selected template.
Message sent at: Specify a sending time.
💡 Tip: For all channels, we recommend creating a template instead of using an existing one. Editing the template may cause the custom field settings to be lost. Additionally, for the NPS survey, it is possible to edit the action if necessary.
Surveys
To send surveys to your contacts, select the Surveys option and click Configure Action.
This will open the screen below.
Survey Name: Enter a name for your survey.
Template: Choose the desired template:
- NPS: On a scale of 0 to 10, how likely are you to recommend the product/service/company to a friend or colleague? Possible answers: Detractor, Passive, or Promoter.
- CSAT: On a scale of 1 to 5, how satisfied are you with the product/service/support? Possible answers: Very dissatisfied, Dissatisfied, Neutral, Satisfied, Very satisfied.
Scale Type: Choose how the answers will appear — numeric, emoticons, or stars.
Agreement: Do you agree with the statement: The product/service/support met my expectations? Possible answers: Positive/Negative.
Open Question: What can we do to improve your experience with the product/service/support?
Custom Field: You can add a field through a defined variable, which will automatically apply personalized information.
Sending Channel: Choose Email, WhatsApp, SMS, or RCS.
Customization: Include a logo to identify your company. Ideal size: 220x70px, max 1MB.
Highlight Color: Select the color used for buttons and icons.
Include Comment: When enabled, the contact can leave a comment with their rating.
Comment Required For:
No one
Everyone
Specific Ratings: Select Detractor, Neutral, and Promoter
Response Deadline: Set a period between 2 hours and 7 days for contacts to respond, with the option to choose hours or days.
Set Second Channel for Resend: Enable this to set a backup channel in case there's no interaction in the defined time.
Resend Channel: Choose Email, WhatsApp, SMS, or RCS.
Wait Time Before Resending: Choose between hours or days.
After selecting all fields, click Next.
The screen below will appear.
Fill in the details:
- Sender: Who will send the message.
- Subject: For emails, provide the subject.
- Custom Field Filling: Select the desired variable.
Once done, click Next. A confirmation message will be shown completing the action creation.
Done! Survey action added!

