The webhook integration allows communication with almost all tools. The webhook enables sending data from Zenvia Chat's customer service and messages to any other system that is ready to receive them. It is possible to use tools like Zapier and Pluga to easily integrate with hundreds of already listed apps or manually integrate a system with the help of a developer.
To access this functionality, go to Zenvia Chat - Administrator Profile > Settings > Integrations > Webhook.
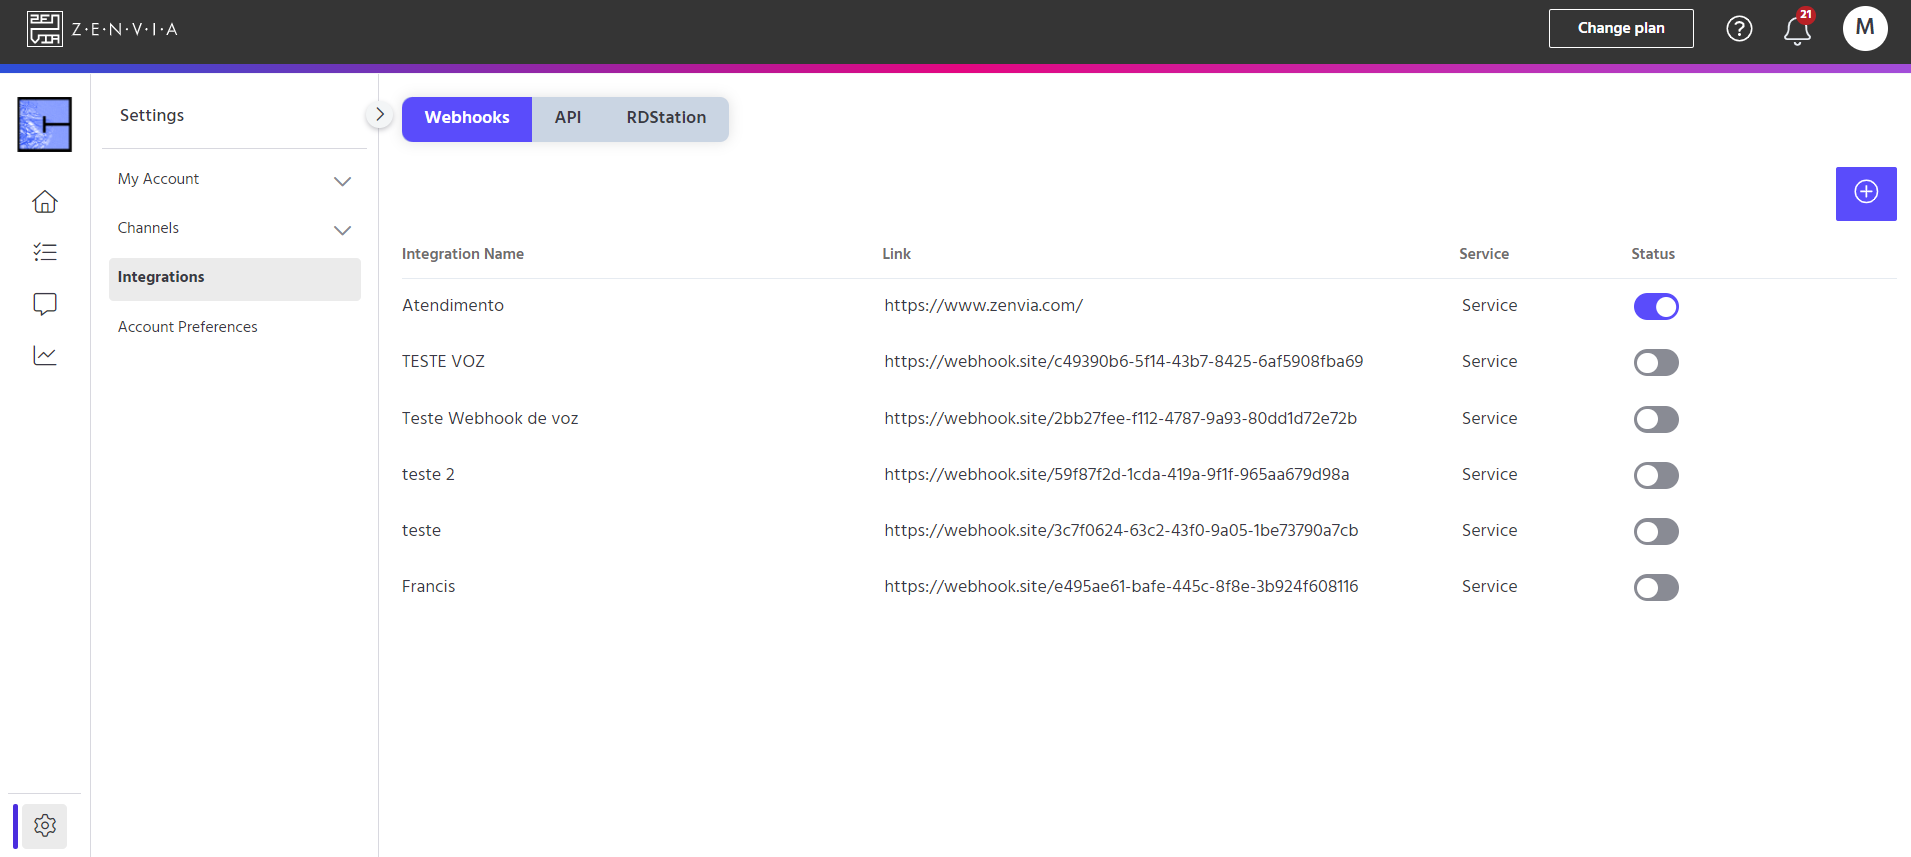
To get started, simply click on the Webhooks tab in the top menu and then the + icon, located in the top right corner to add the integration.
Define a name for the integration (example: customer service) and add the URL where the information will be sent. Click on Continue.
Define the type of interaction, which can be:
- Customer Service: services provided.
- Inactive: services that were marked as inactive (could be an interaction opened as a message when the service is offline, exceeded queue time, or when a WhatsApp session has expired).
Select the Service and the department of your company for the integration. Then, click on Continue.
Indicate the data that will be sent and click on Continue again.
Copy the JSON data and click on Save. Afterward, just insert the data into the integrated software.
Data available for integration
Customer Service:
- name = customer’s name;
- email = customer’s email;
- phone = customer’s phone;
- attendant = interaction’s agent;
- attendant_email = agent’s email;
- department = triggered department;
- cpf = customer’s CPF;
- notes = notes added by the agent;
- date = interaction’s date and time;
- media = interaction’s media;
- interactionHash = unique code of the service interaction;
- browser = customer’s browser;
- operating_system = customer’s operating system;
- ip = customer’s IP address;
- origin = originating URL where the customer started the interaction;
- messages = conversation history.
Message:
- name = customer’s name;
- email = customer’s email;
- phone = customer’s phone;
- text_message = customer’s message;
- date = message’s date.