Quick responses is a feature used to standardize and speed up customer service. With this feature, the agent can respond more quickly to customers, as they don't have to type long and often repetitive content, since the answers are already saved.
In this way, the benefit of using quick replies is that they are standardized and consistent, regardless of who answers the customer, the replies will be the same and will therefore be of the same quality.
An example of how this functionality can be used is to create a standard message to start calls. This way, an answer such as “Hello, how can I help you?” can be simplified and searched for using a shortcut, such as “Hello”.
To access this functionality, go to Zenvia Chat - Administrator Profile > Service > Quick responses.
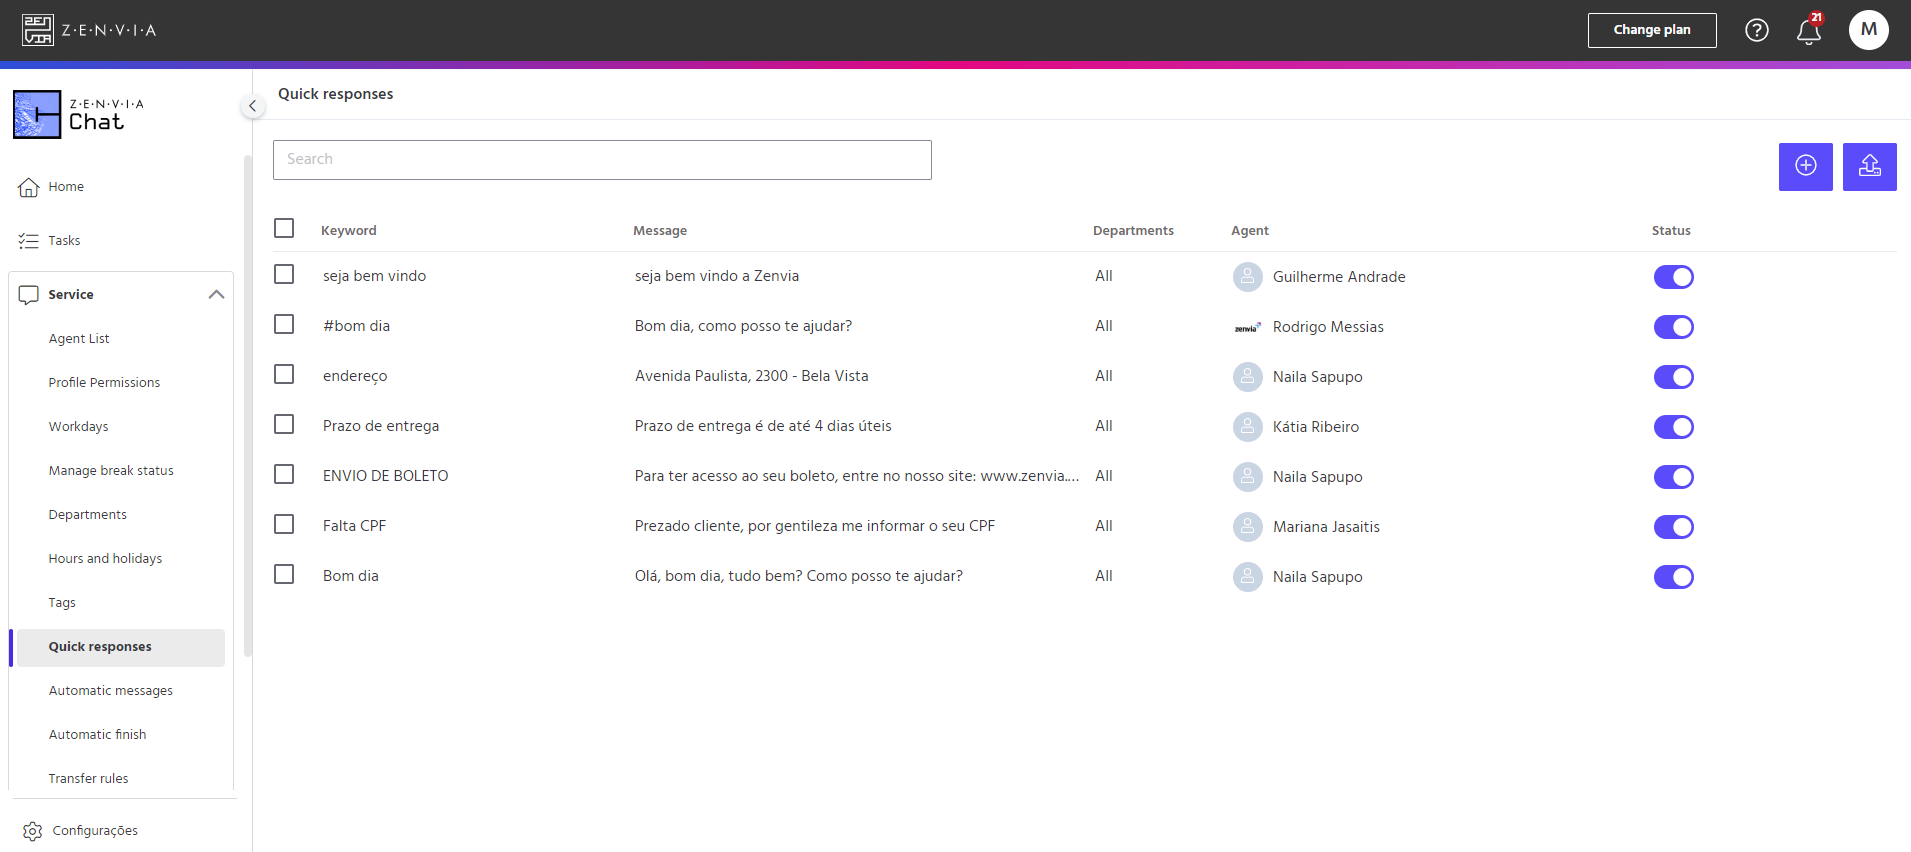
On the main screen, you can see the following information:
- Keyword: word that indicates the quick reply created;
- Message: message sent;
- Departments: company area;
- Agent: name of the agent;
- Status: ready response active or not.
Clicking + Add opens the screen with the following fields:
- Shortcut title: reference word that will find the complete message.
- Type of reply: whether the reply is a file (you can attach a file) or text (you can write a text).
- Quick reply: the full content of the message.
- Departments: areas of the company that can see and use the ready reply.
Add variable +
In Quick Reply, by clicking on the Add variable + button, the Administrator user will have the option of inserting predefined variables into the text of the quick reply. In other words, they can personalize their reply to the customer, leaving it saved for the agent to use with other customers.
For example, they can personalize the message with the variables customer name, e-mail address, telephone number. Or with the variable of the name of the agent who attended the customer, with the protocol number, in short, the Administrator user can choose the desired variables, according to the options on the screen.
For the agent profile, the ready response with variable can be used in the same way as the current ready response, either by typing in a keyword or by clicking on the ready response button and choosing one of them. The only difference is that, when using a variable prompt, the fields will be filled in automatically with the selected variable.
The benefit of using the Add Variable + feature is greater personalization in the messages sent to the customer, simplifying the agents' service journey and having a positive impact on the customer experience.
⚠️ Attention:The Add Variable + feature is only available to customers on the Advanced plan.
The Add Variable + functionality can be used in a variety of situations. Take a look at the example scenarios below:
The user with the Administrator profile accesses Zenvia Chat and enters the Quick Replies screen, so he decides to create one manually. He clicks on the + Add icon and the Add quick reply modal appears. When he starts writing the message, he clicks the Add variable + button, chooses one of the options, and the variable is inserted into his text. Once they have finished defining the text and variables, they define the departments that will use this quick reply and click Save shortcut.
Or, the user with an agent profile is making a call and needs to use a quick response with a variable. He chooses the desired variable and the ready answer appears in his text box. That's it! Now it's quicker and easier to send a response in customer service.
💡Tip: The quick reply can be inserted in HTML, either for the text or file option. In other words, if the administrator wants to insert the message using Hypertext Markup Language (HTML), just click on the button next to the question Is the quick reply HTML?
Here's how to add a quick reply and a variable.
Inserting quick responses from a spreadsheet
By clicking on the Import button in the top right-hand corner of the screen, the user with the Administrator profile will still be able to enter quick answers via a spreadsheet. This spreadsheet should have two columns with the headings: keyword and message.
Entering quick answers via spreadsheet
By clicking on the Import button in the top right-hand corner of the screen, the user with the Administrator profile will still be able to enter ready-made replies via a spreadsheet. This spreadsheet should have two columns with the headings: keyword and message.
Under keyword, the Admin user must enter the keyword that will be used to activate the quick reply. In message, the user must fill in the content of the quick reply. The variables provided in the table below must be inserted in the quick reply text, in the message column.
Variable - Meaning;
{{main_identifier}} - customer name;
{{document}} - CPF;
{{channel_phone}} - Telephone;
{{channel_email}} - E-mail;
{{protocol}} - Protocol;
{{agent}} - Agent name.
Done! Insertion done.