The Send File feature allows the chatbot to send images or documents to users during the conversation.
This content is useful for situations like sending a duplicate invoice, product manuals, or other necessary documents.
How to configure the Send File feature
Choose the chatbot you want to add the feature to and make sure the builder is open to follow the tutorial. You should add it at the end of the interaction or after an important interaction.
Click on Add block > Add content > Send file.
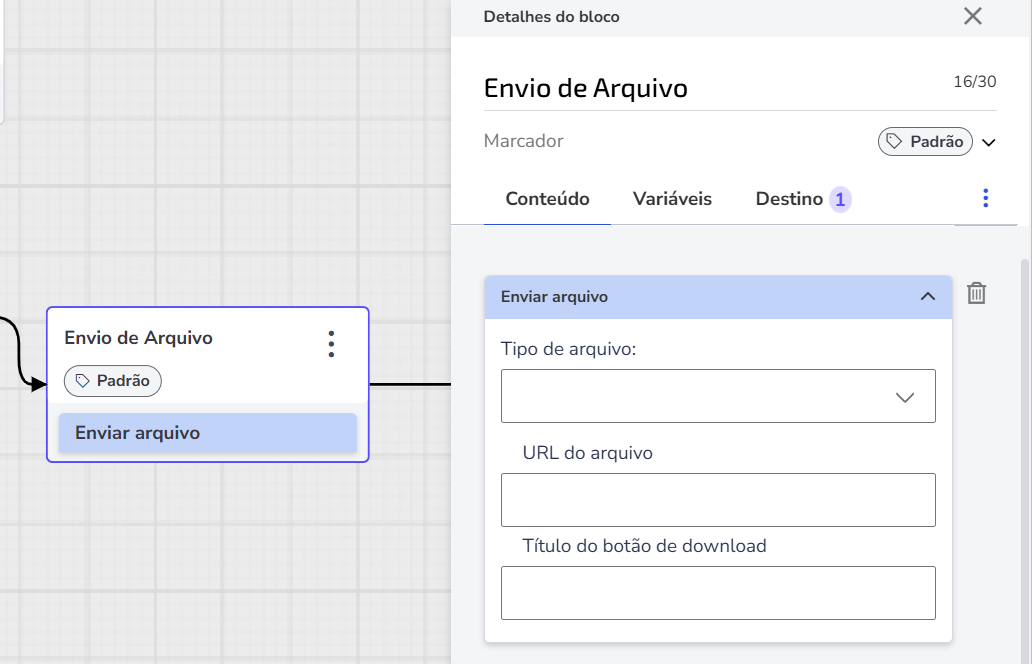
Define the File Type. The following formats are accepted:
Image PNG, JPEG, or JPG
Videos MP4 or MP3
Documents DOC/DOCX, XLS/XLSX, PDF, and TXT
Insert the File URL: Add the URL where the file is hosted. Learn more about hosting URLs in the following topic.
Define the Download button title: Choose a name for the button that will appear to the user as a download option.
How to host and create valid URLs for the Chatbot
For the chatbot to send multimedia files, such as PDFs or images, these files need to be hosted on a valid URL.
This means that the file must be available in a location accessible via the internet, from where the chatbot can retrieve it to send to the user.
Here are some ways to host files and obtain valid URLs:
You can use free hosting services to make your image files available. A popular example is Postimage, which allows image uploads and generates a direct URL for them. It is important that the URL is a direct download link, which usually means that the URL ends with the file extension, such as .pdf, .jpg, or .png.
Practical example:

Done! Now just Save changes and Test your chatbot before publishing it. The interaction should occur more or less this way:
