To send WhatsApp messages that include media, it's necessary to:
- Have a message template pre-approved by Meta within Zenvia Customer Cloud.
- Provide a media link during the setup of the message.
Sending a message with media file
Message broadcast:
- Go to Message broadcast > WhatsApp.
- Give a name to the dispatch and then select the phone number. It must be the same number selected during registration. Templates registered under this number are automatically displayed.
- Add recipients. You can use a contact list or import a CSV file.
Media sending options:
- Using the Contact List:
- Different media for each contact: Ensure your contact list has a column with the public and direct URL for each media file. The media variables in the template (e.g., {{videoUrl}}) must correspond to the columns in the contact list with the URLs.
- Same media for all contacts: Insert the public media URL as a fixed field in the template. All selected contacts (by list, individually, or by segment) will receive the same media.
- Importing a CSV file:
- Different media for each contact: In the .csv file, include at least two columns: one for the phone number and another for the public media URL. Each contact will receive the media specified by the respective link.
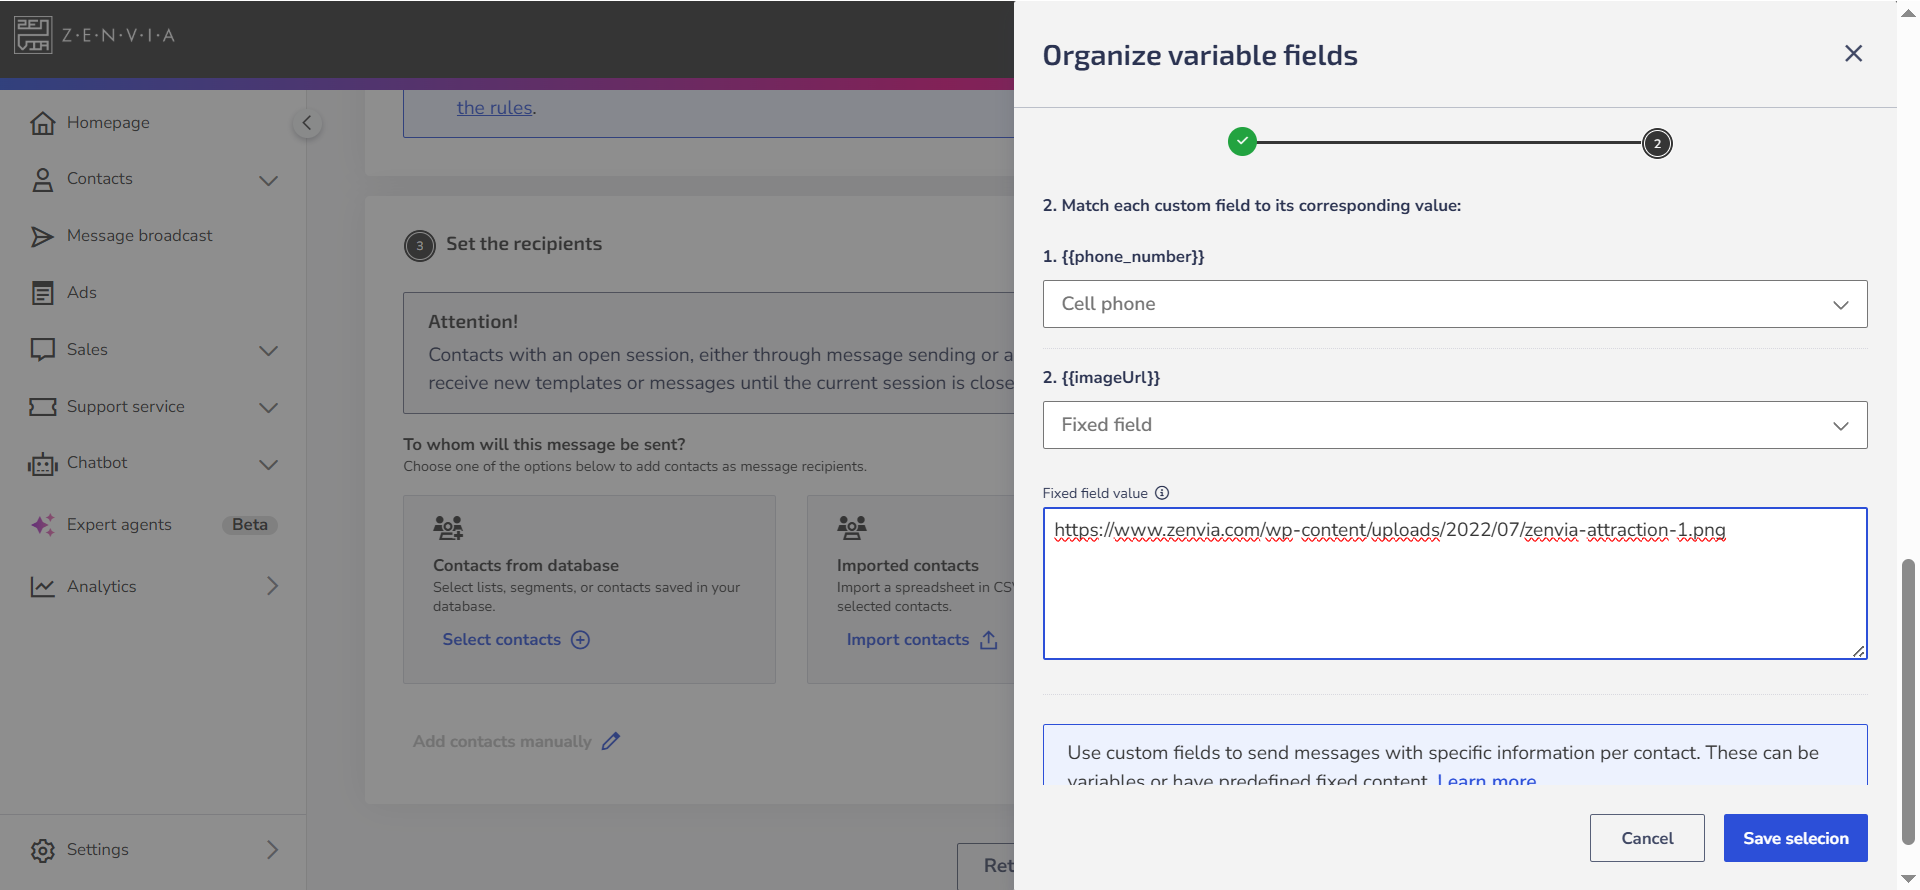
- Same media for all contacts: The file does not need to include the media URL column. When mapping variables, choose the Fixed Field option for the media and add the public URL. This way, the same media will be sent to all contacts.
Sales
Multimedia templates (image, video, document, and/or button), like regular templates, should only be used to recontact clients when the 24-hour WhatsApp session has expired. If the session is still open (within the 24 hours) and a template is sent, the message will be delivered as a regular text message, not as a template.
To use a multimedia template:
- Choose a multimedia message template to send in the chat;
- Fill in the variable field with the public URL of the chosen media;
⚠️ Attention: If the URL is not public or not attached, an error message will be displayed. - Configure the buttons (if applicable):
- Choose from the following options: URL, Phone, Quick Reply, MPM, Coupon (Copy Code), or Unsubscribe;
- URL, Phone, Quick Reply, and Unsubscribe buttons will be available if they already have the button name and destination or text filled in during the template creation;
- Buttons created with a variable to be filled in at the time of sending are not available in commercial service. The variable for this type of button appears in the format {button}, indicating that there is a button in the variable. For the copy code button, include the code in the variable field.
- Click
to send the message.

Accepted media types
Media type | Format | Size |
Audio | ACC MP4 MPEG AMR OGG | Up tp 16MB |
Documents | Formatos de texto Office Open Office | Up to 100 MB |
Images | JPEG PNG | Up to 5MB |
Video | MP4 3GP | Up to 16 MB |
Stickers | WebP | Up to 100 KB |
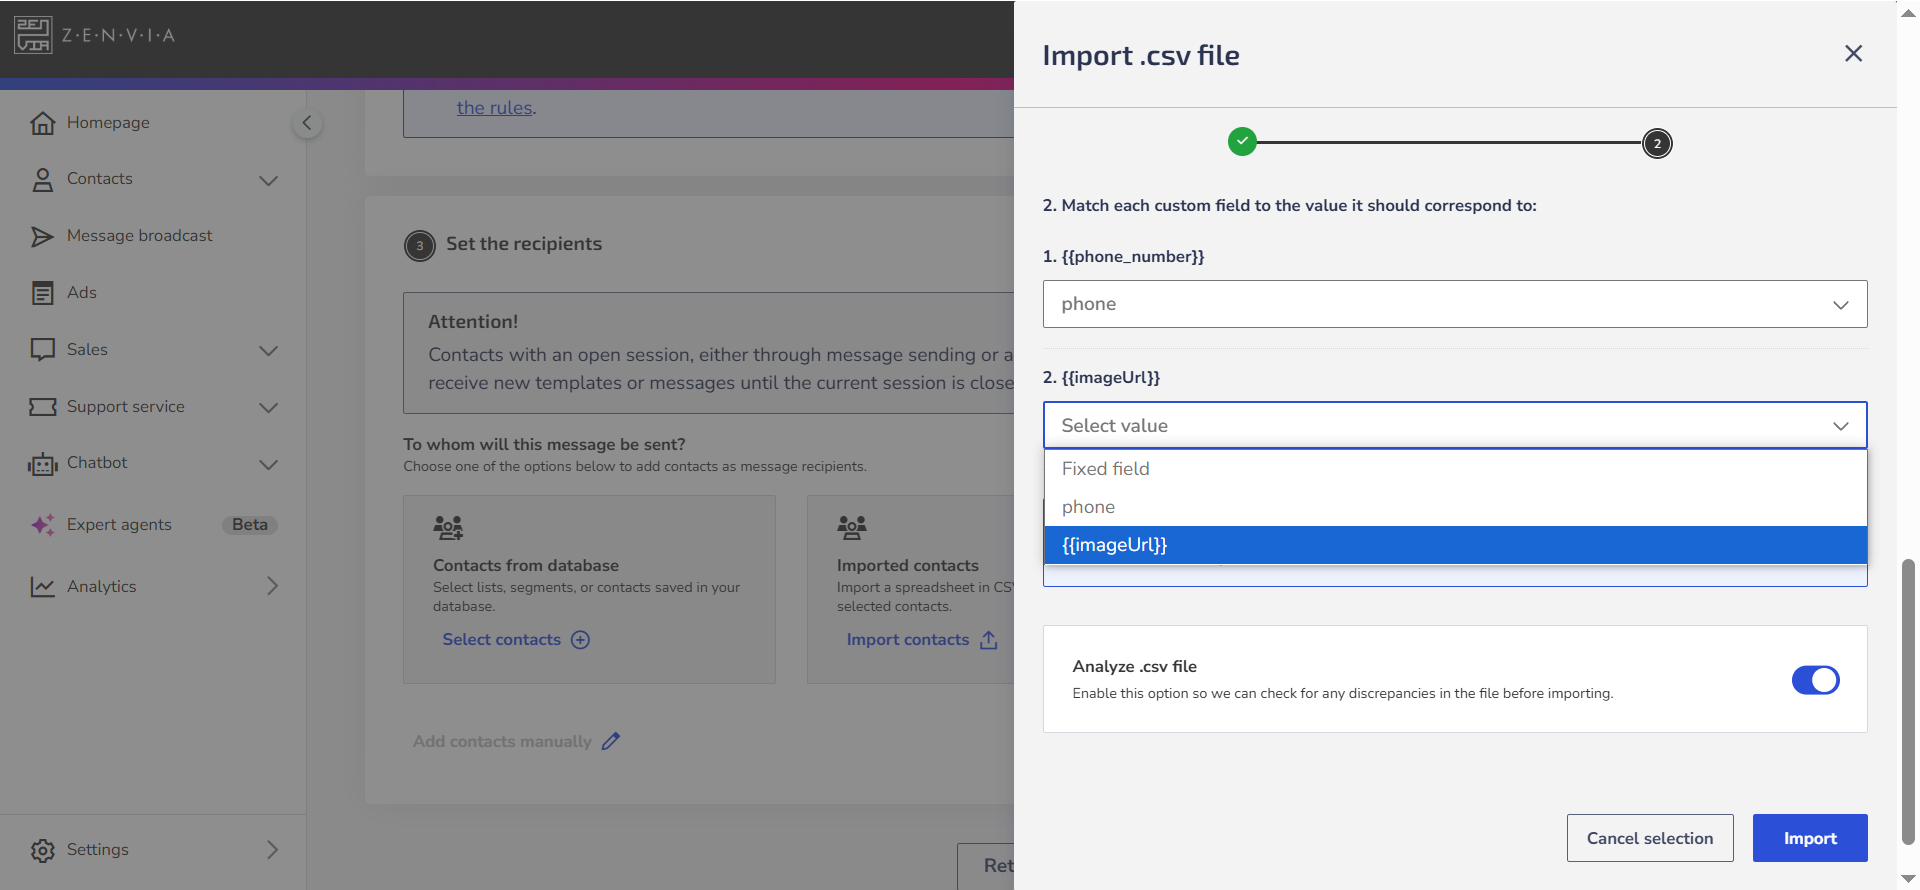
In the example, see a message template that uses a different media variable (e.g., {{imageUrl}}) for each contact. In the .csv file, the structure is as follows:

During the import, you should:
- Associate the phone column with the phone field value;
- Associate the imageUrl column with the {{imageUrl}} field value.
💡 Tip: If all recipients will receive the same image, you just need to select the variable (for example, {{imageUrl}}) as a Fixed field and enter the public URL of the image. |
In the summary of the dispatch, there is an illustrative preview of the message. The media file appears in link format, so make sure it is public.