Panels and Views enable you to efficiently manage and customize the display of support service tickets in Zenvia Customer Cloud.
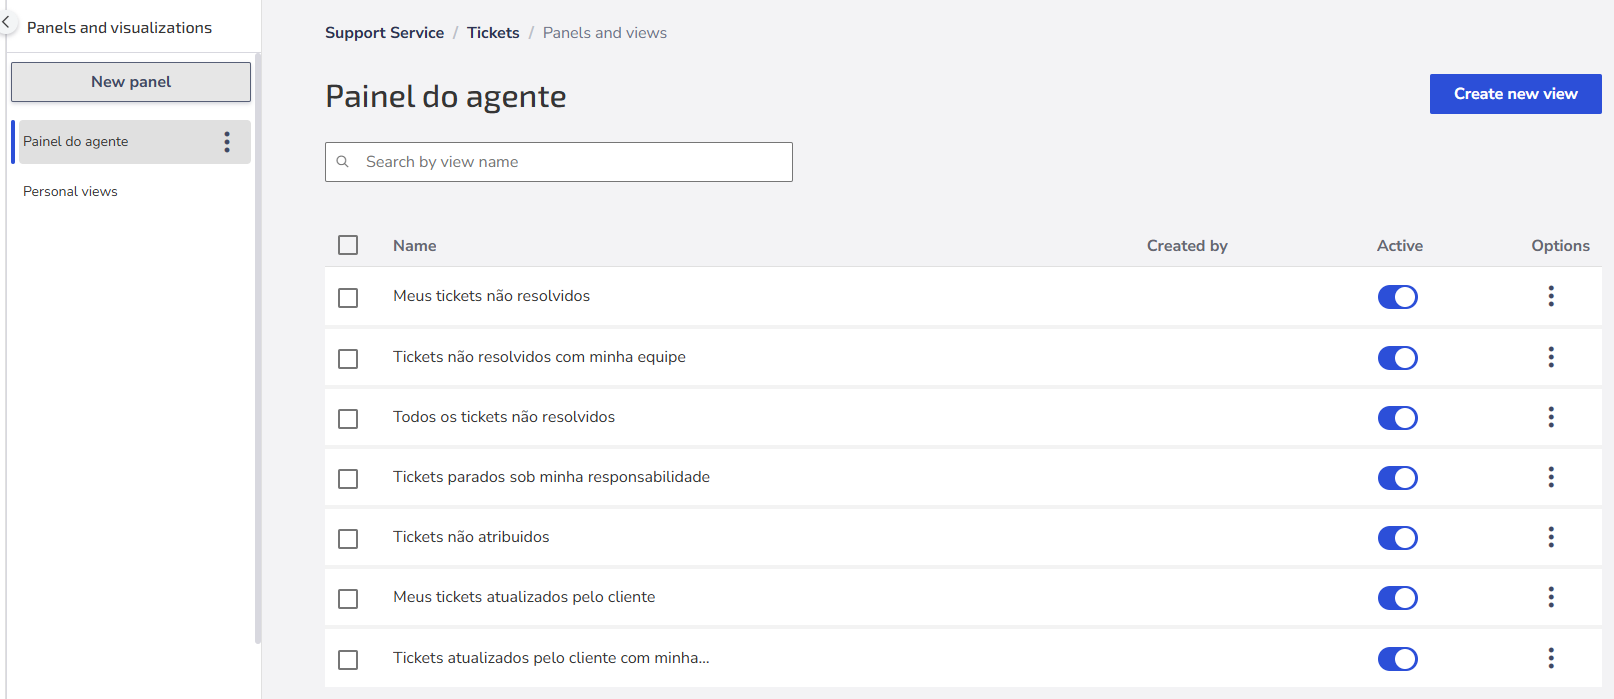
To configure your Panels and ticket views, go to: Support Service > Tickets > Panels and Views.
Panels
In the left column of the Tickets screen, you'll find the list of configured panels. Each dashboard presents different sets of views and data. Examples: Agent Panel and Personal Panel.
💡 Tip: To edit or delete a panel, click on Options, select the corresponding icon, and choose the desired action.
How to Create a New Panel
1. Go to Support Service > Tickets > Panels and Views.
2. Click on New Panel in the upper left corner.
3. Enter the panel name.
4. If needed, activate the panel to be used by other agents.
5. Choose the type of access for the panel: All or Specific Groups.
💡 Tip: If you choose Specific Groups, you must manually add the groups that will have access to the dashboard.
6. Click on Create Panel to save.
Done! The dashboard has been successfully created.
Views
With the panel created, you can configure different types of views to manage your support tickets.
💡 Tip: To edit, copy, or delete a view, click on Options, select the corresponding icon, and choose the desired action. For copies, you’ll need to create a new name and select the destination panel.
How to Create a New View
1. Go to Support Service > Tickets.
2. Select the desired panel.
3. Click on Create New View in the upper right corner.
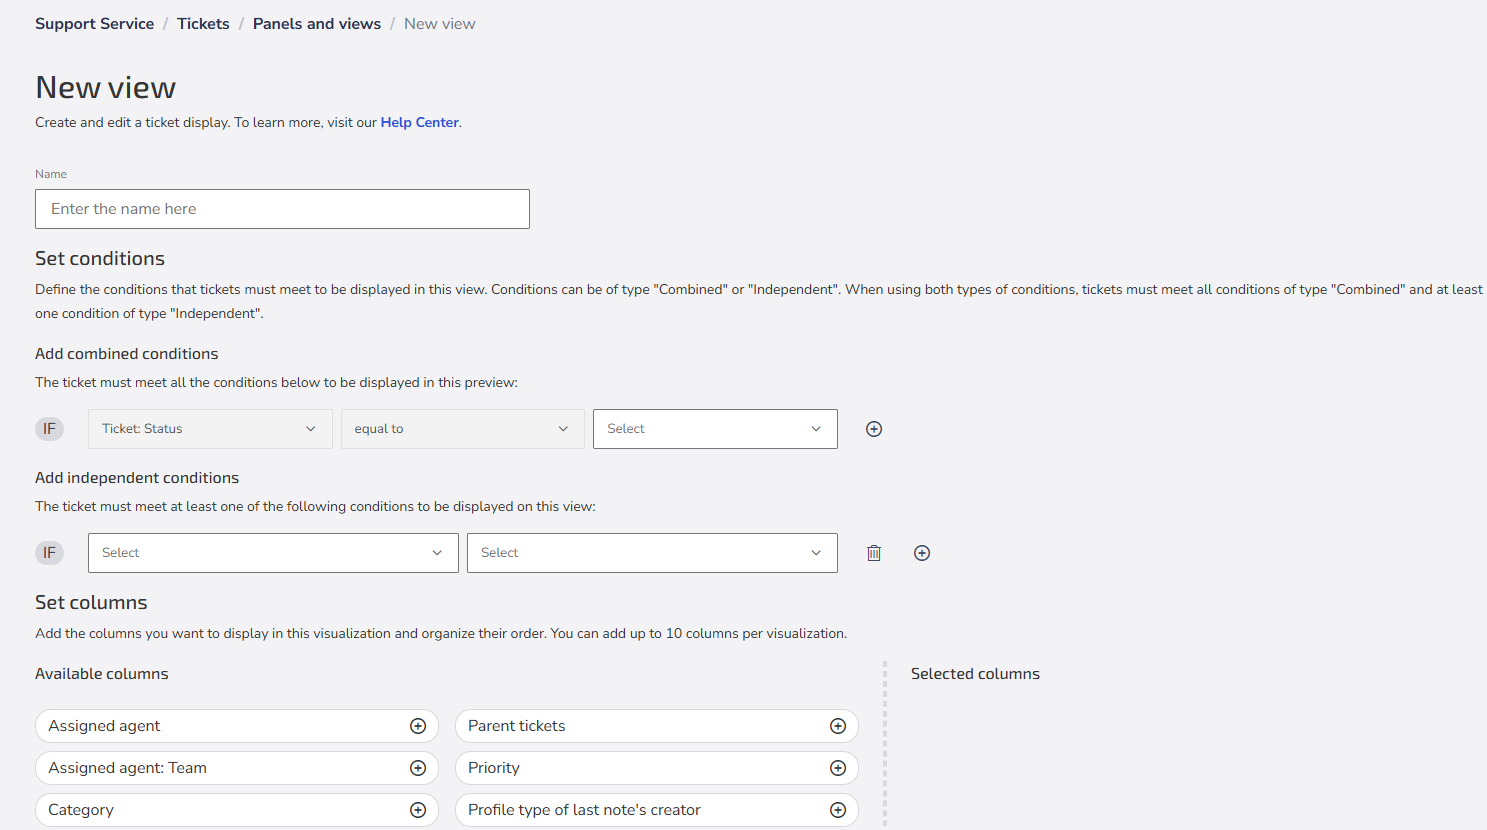
4. Enter the name of the view (up to 128 characters).
5. Add one or more conditions that the tickets must meet to appear in the view.
Example of Conditions:
Combined:
Independent:
💡 Tip: When using both types, the tickets must meet all "Combined" conditions and at least one "Independent" condition.
6. Define the columns and the order in which you want them to appear in the view.
💡 Tip: You can choose up to 10 columns per view.
7. Click on Create View to save.
Done! The view has been successfully created.
Views will always appear on the screen in a list format.


