Customer support groups represent the operational areas of the company in Zenvia Customer Cloud. Configure them to define participation in Support Service chat.
How it works
To use the feature, go to Support Service > Settings > Conversation Settings > Support groups > Manage.
On the main screen, view the following information:
ID (department identification, generated upon creation);
Customer support group (department name);
Priority (Priority weight);
Status (active or not);
Edit and delete options.
💡 Tip: Use filters to get specific search results.
Create a new Customer support group
1. Go to Support Service > Settings > Conversation Settings > Support groups.
2. Click on Manage.
3. Press the Create new group button.
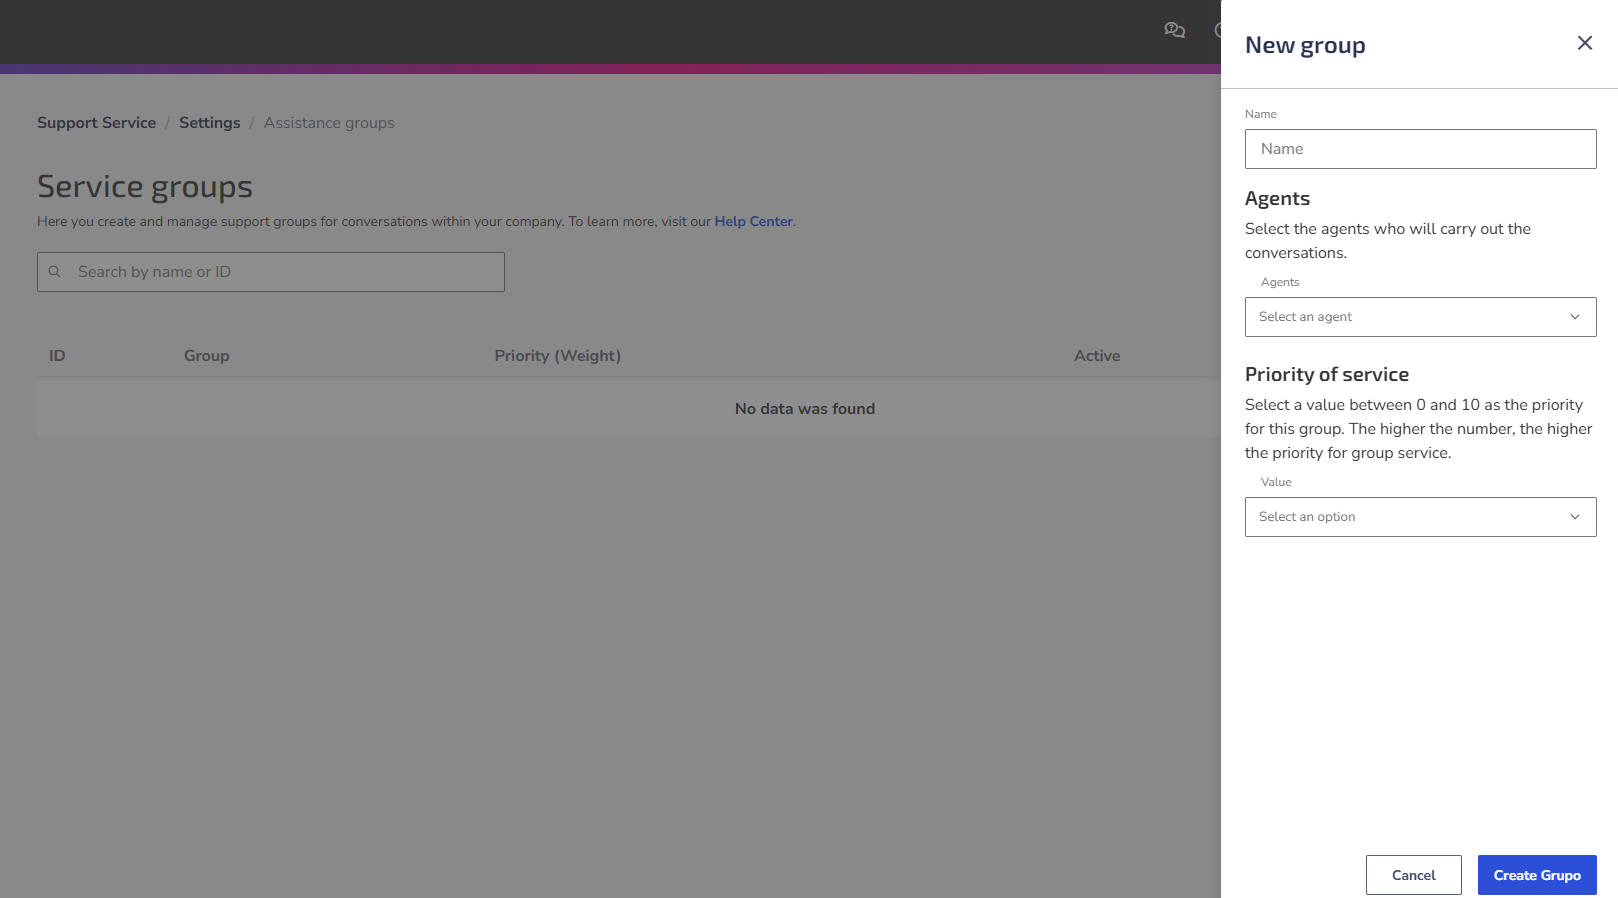
4. Enter a name for your department. Example: Support.
5. Select the agents who will handle the chats.
6. Choose the priority weight for the Customer support group (0 to 10).
💡 Tip: The higher the number, the higher the Customer support group's service priority level.
7. Save the information.
Done! New department created successfully.