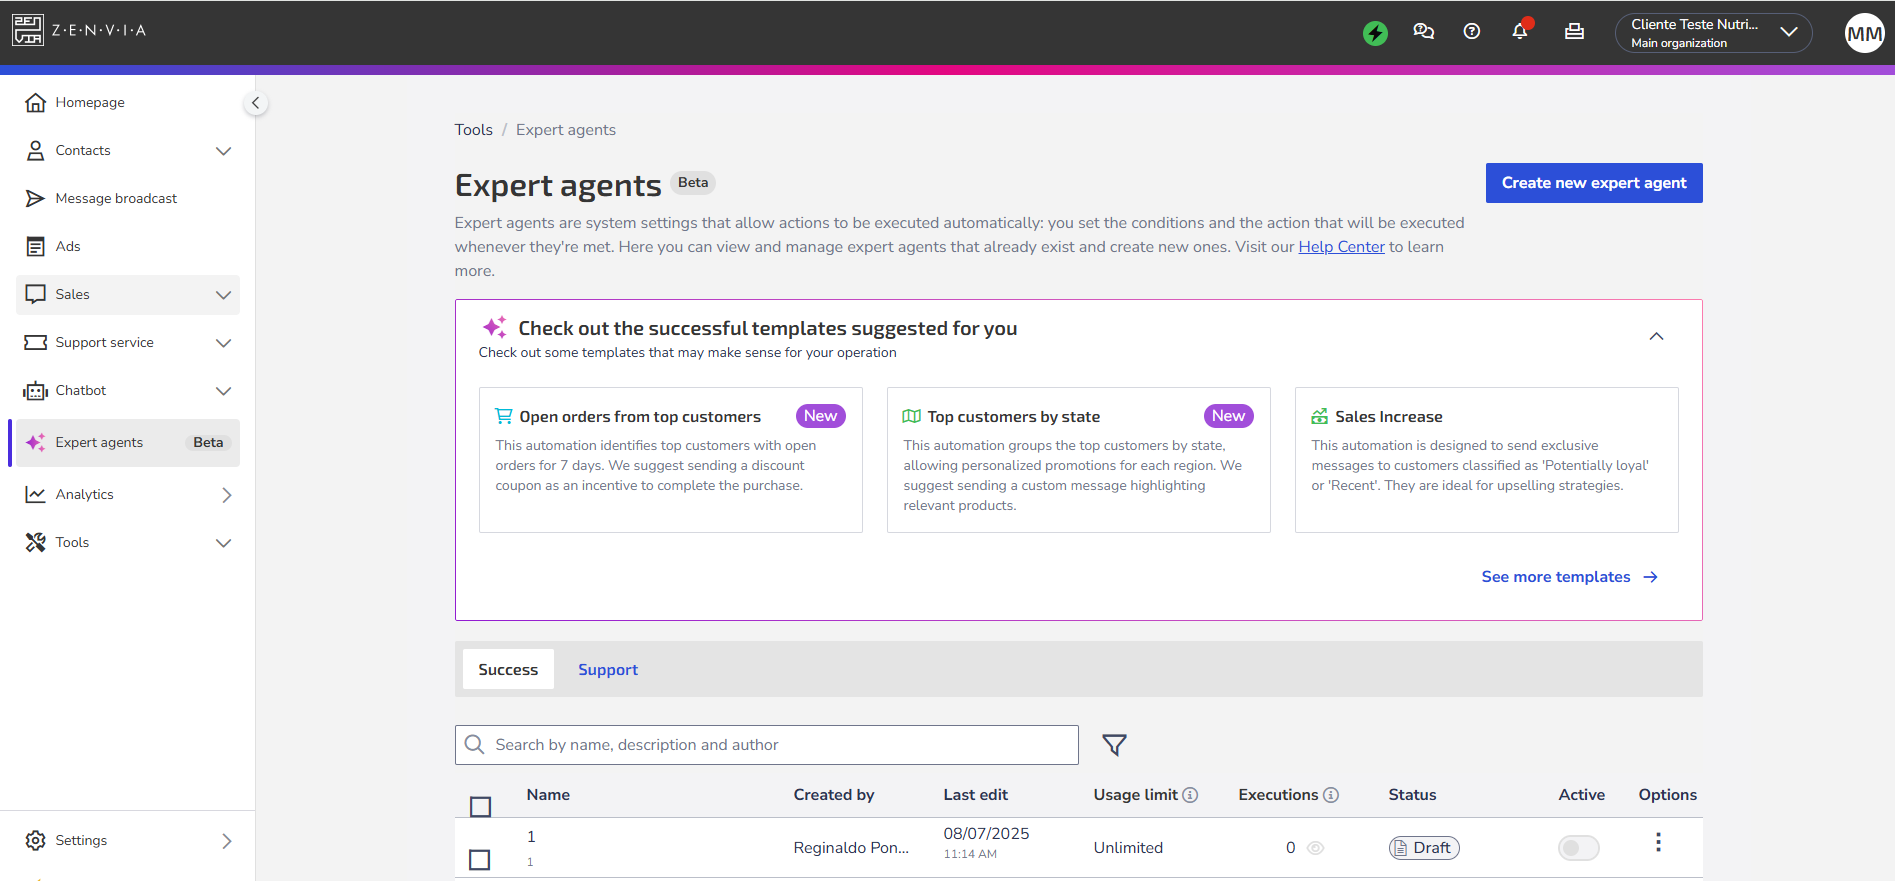
The Success expert agents module belongs to Zenvia Customer Cloud and aims to facilitate the customization and optimization of customer service and communication.
Success expert agents are system configurations that enable the automatic execution of actions: you define the conditions and the action to be performed whenever those conditions are met.
These Success expert agents allow the creation of actions, which can include promotional messages, offers, alerts, congratulatory messages, and more, to be sent to customers automatically. All this according to your goals and what you want to provide to your customers.
⚠️ Attention:
|
To access this feature, go to Zenvia Customer Cloud > Expert agents.
Next, learn how to get hands-on and create a new expert agent.
How to create a new successful expert agent
When you click on Create new expert agent, the New expert agent screen opens, where you can choose between Support Expert Agent or Success Expert Agent.
When selecting Success Expert Agent and clicking Next, the following screen opens.
The fields below are displayed for completion:
- Name: Enter the name of the expert agent.
- Description: Optional. If you wish, provide a brief explanation about the expert agent.
- Tags: Choose up to five tags to include. They are a way to organize and identify your expert agent. Example: you can create the tag “delinquent customers,” linking the expert agent to all customers that meet those conditions, allowing faster filtering in the contact base.
- Conditions: Select the conditions created for the expert agent.
- Actions: Define the actions that can be performed with this expert agent.
- Set timer: Define how long it will take for this expert agent to be executed.
💡 Tip: The system will display an on-screen notification when the limit or pause time is reached. - Usage limit: Define whether the expert agent will have a usage limit. If it does, it will stop running once the limit is reached.
Finally, you can click Cancel, Save as draft, or Create and activate expert agent. Remember, to save as a draft, the expert agent does not need to be finalized - you can start creating it and finish later.
When creating and activating, you already have the expert agent ready to run, but all creation steps must be completed.
At the end, the section Latest executions and changes of the expert agent is displayed, showing detailed executions and the 10 most recent changes made to expert agents.
You can also choose to use Expert Agent Templates available from Zenvia, that is, templates with pre-filled fields. To do this, click on See more templates, choose the desired template, and then click Use template.
How to view information in already created expert agents
If you already have expert agents configured, the fields completed during their creation will be displayed on the main page, as explained above.
💡 Tip: When clicking the Active button to activate a paused expert agent, the Expert Agent Summary opens. This summary displays information such as name, description, conditions, timer, actions, impact forecast, contacts, and at the end, allows you to Edit or Activate the expert agent.
You can use the search tool by entering the name, creator, and/or description of the expert agent. You can also use the filter tool to filter by name, description, action, tags, and status of the desired expert agent.
In Options (three dots at the end of each expert agent), for expert agents you created, you can Edit, view Usage Statistics, Copy, and Delete the agent.
By selecting each checkbox on the left side of created expert agents, you can Pause, Activate, and Mass Delete (i.e., more than one at a time by selecting multiple checkboxes).
Done! Count on our successful expert agents for every step of your journey.

