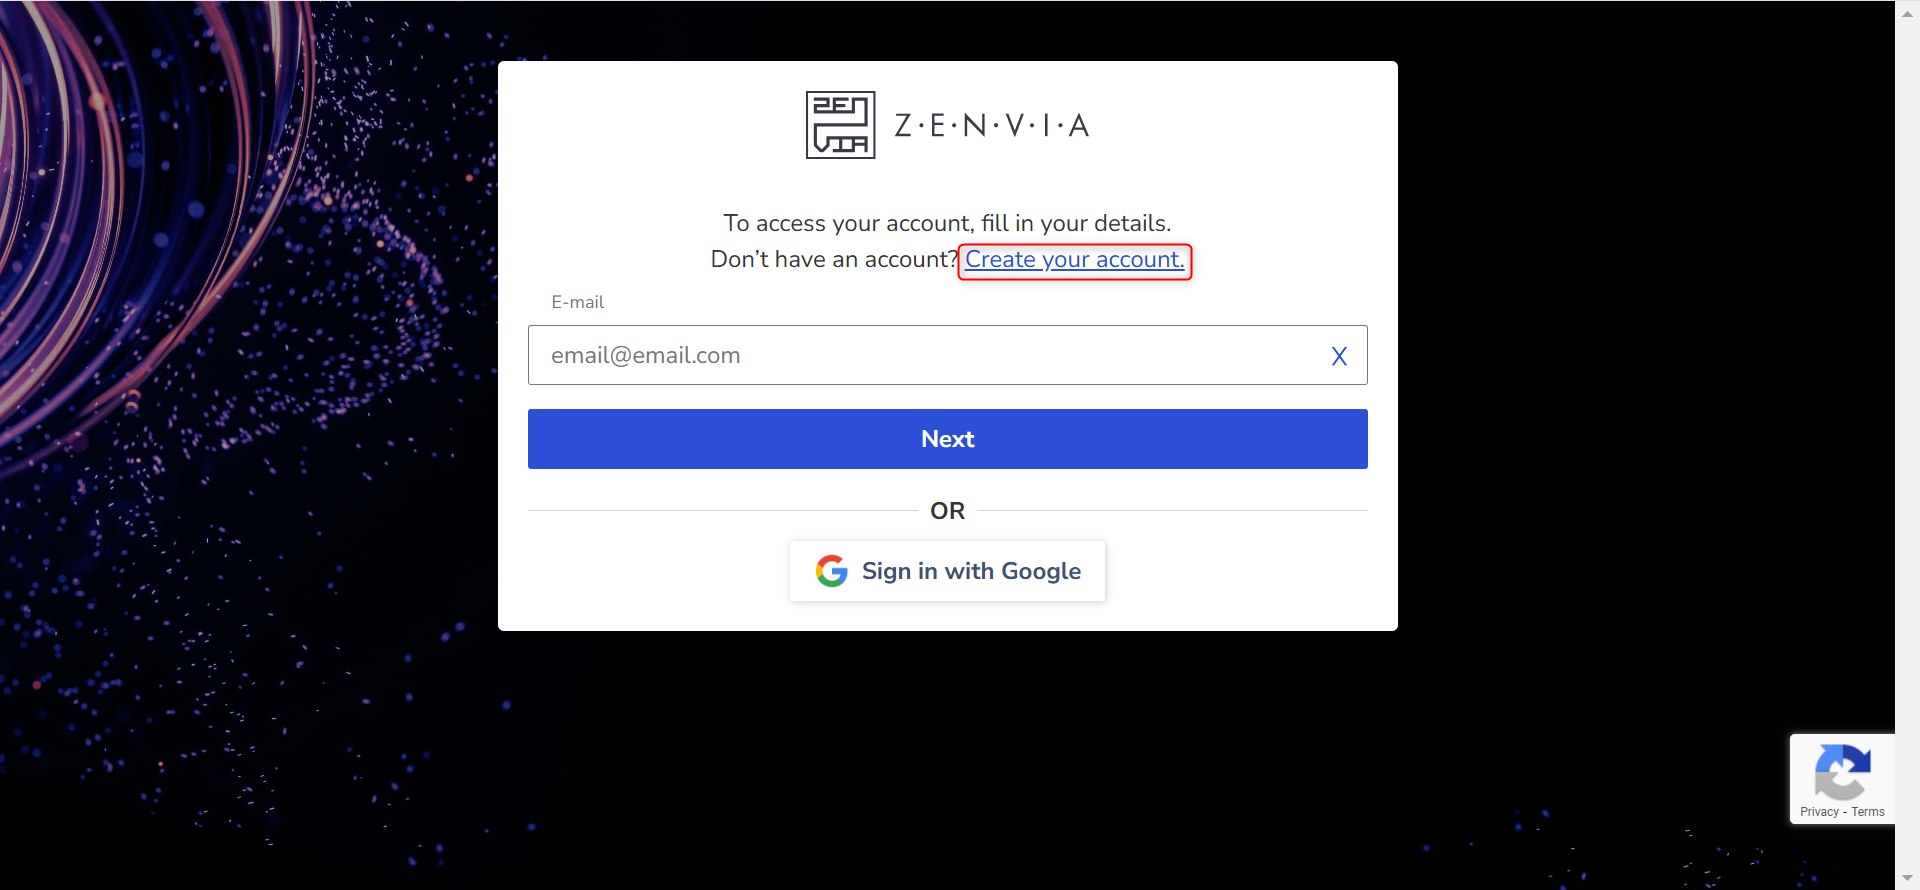
Welcome to Zenvia Customer Cloud! Create an account and gain access to a unique multichannel solution that centralizes and manages your customer data with greater operational efficiency.
The first step to creating an account is choosing a plan. The subscription to a Zenvia Customer Cloud plan must be made on the Zenvia website.
Afterward, you will be directed to app.zenvia.com/ and can proceed with the account creation steps.
Create Account
To access the Zenvia Customer Cloud platform for the first time, it is necessary to create an account before attempting to log in.
- Go to app.zenvia.com/.
- Click the Create Account button.
- Fill in the required fields with your name, email, phone number, and password.
- Read and accept the General Terms of Service. By creating an account, you automatically agree to follow these guidelines.
- Click Create Account to complete the process.
⚠️ Attention: After creating your account, you will be able to log in to the platform using the email and password you registered. Access will not be possible without completing the registration first.
Two-factor authentication
Next, to protect your account and prevent fraud, you will go through a security step called two-factor authentication. To do this, select the authentication method:
- Google Authenticator or similar: use authentication applications to generate codes. Find out how to get verification codes with Google Authenticator.
- SMS: you have to select the DDI prefix of the country of origin and add your phone number. A six-digit code will be sent by text message (SMS) to your cell phone. Simply enter it in the appropriate field and click Continue.
Include additional data
The next step is to indicate the country of origin:
- The data to be completed varies according to the country selected. For example: if the country chosen is United States, enter the NITE number.
- Select the number of employees and the company segment;
- Enter the postal code. The address is localized and you only need to enter your company number and complement or home address as required;
- Then click on Add data.
💡 Tip: All fields are validated. This ensures that your information is correctly recorded in our system.
Payment
Check all the details about your chosen plan in the purchase summary and make the payment.
Done! Account created.
Login
Once your account is created, you can login with your email address and password or via social login.
⚠️ Attention: Each user can access Zenvia Customer Cloud on only one device or browser at a time. When logging in on another device, the previous session will be automatically logged out.
Login with email and password
- Enter your email address and click Next;
- Then enter your password and click Login.
💡 Tip: If you do not remember your password or cannot access the solution to change it, you will need to recover your password.
Social login
There is also the possibility to access the platform using a social login. Instead of entering your email address and password, if your email address is Gmail, click Sign in with Google and select an existing account. In this case, your password will be the same as your Gmail email address.
Unified access to the solution
Single sign-on (SSO) is an authentication solution that allows users to use a single sign-on to access Zenvia Customer Cloud easily and securely, as there is no need to store passwords in multiple locations. You only need to enter your username and password once to get started.
If this is your first login as an account administrator, follow the first steps to use the solution. If you prefer to skip these steps, you will be directed to the home page.

